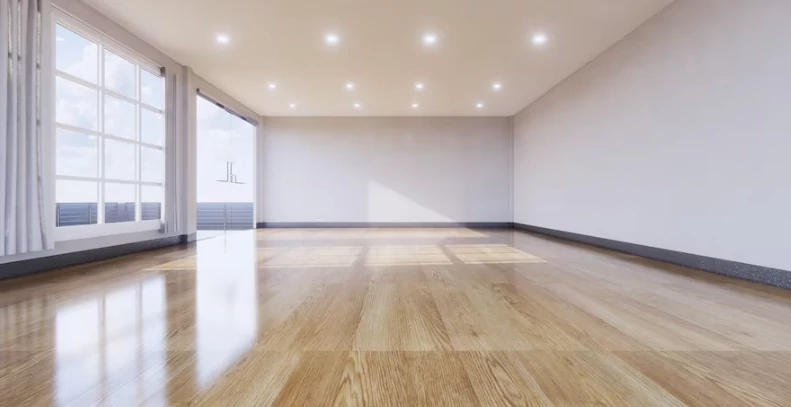
Hardwood flooring adds warmth, elegance, and value to any home. It is a popular choice among homeowners because of its durability and ability to withstand heavy foot traffic. However, installing hardwood floors can be a challenging task that requires careful planning and attention to detail.
In this article, we will provide you with tips and tricks for installing hardwood floors like a professional. Before beginning any installation project, it is crucial to properly prepare the space where the new flooring will be installed. This involves removing all furniture and appliances from the room, as well as any existing flooring or carpeting.
The subfloor must also be inspected for any damage or irregularities that may affect the installation process. Gathering the right tools and materials is equally important in ensuring a successful installation project. From saws and hammers to adhesive glue and moisture barriers, having all the necessary tools on hand before starting the job can save time and avoid costly mistakes down the line.
By following the proper installation techniques outlined in this article, you can ensure your hardwood floor looks beautiful for years to come while adding value to your home’s overall aesthetic appeal.
Properly Prepare Your Space
Prior to commencing the hardwood floor installation process, it is essential to adequately prepare the surrounding space by clearing out all furniture and appliances, removing any existing flooring materials, and ensuring that the subfloor is level and free of debris. This step is crucial for achieving a seamless finish and avoiding any potential damage or complications during installation.
Firstly, clear out all furniture and appliances from the room to create a spacious working area. This will not only make it easier for installers to work but also prevent any damage to your belongings.
Next, remove any existing flooring materials such as carpets or tiles which can interfere with proper adhesion of the new hardwood floor.
Lastly, ensure that the subfloor is level by using a leveling compound if necessary and free of debris such as dirt or dust which can cause lumps or bumps in the finished product.
By following these steps, you will be able to set yourself up for success when installing your beautiful new hardwood floors.
Gather the Right Tools and Materials
To ensure a successful hardwood floor installation, it is imperative to procure the appropriate equipment and supplies. As the old adage goes: ‘use the right tool for the job.’This principle holds true for installing hardwood floors.
Here are some tools and materials that you should gather before starting your project:
– Nail gun or stapler
– Table saw or circular saw
– Chalk line
– Measuring tape
These tools are essential in cutting, measuring, and securing the planks properly.
Aside from these items, you also need to have underlayment, adhesive, finishing nails or staples, wood filler putty, sandpaper, and stain or sealant. With these materials at hand, you can ensure that your flooring installation will go smoothly.
It is essential to gather all necessary supplies and equipment before starting any home improvement project. By having everything on hand beforehand, you reduce the risk of making mistakes due to unpreparedness.
The right tools can make all the difference when installing hardwood floors – they will help ensure a smooth process and a beautiful end result that will last for years to come.
Follow Proper Installation Techniques
Executing the appropriate techniques for installing hardwood flooring is crucial in achieving a flawless end result that will undoubtedly enhance the overall aesthetic of any space.
The first step to ensure proper installation is to prepare the subfloor. The subfloor must be clean, dry, and level before any installation can take place. This involves removing any existing flooring, repairing any damaged areas, and ensuring that there are no uneven spots. If necessary, sanding or grinding may be required to level out the subfloor.
Once the subfloor has been properly prepared, it’s time to start laying down the hardwood planks. It’s important to remember that each plank should be placed perpendicular to the joists underneath for maximum stability. Additionally, each plank should be nailed or glued down at intervals of 6-8 inches along its length and at all ends where they meet other planks or walls.
Finally, it’s crucial to stagger your planks so that no two end joints line up with each other as this can cause weakness in your flooring over time. By following these proper installation techniques, you can ensure that your hardwood floors not only look beautiful but also provide long-lasting durability and functionality for years to come.
Frequently Asked Questions
Can I install hardwood flooring over an existing tile floor?
Installing hardwood flooring over an existing tile floor is possible, but requires careful consideration. The tile surface must be structurally sound and level. It’s recommended to use a plywood subfloor to provide stability and prevent cracking or movement of the tiles underneath.
How long does it take for hardwood flooring to acclimate to the room temperature before installation?
Hardwood flooring typically needs to acclimate for 3-5 days in the room where it will be installed. This allows the wood to adjust to the humidity and temperature of the space, which can prevent warping or shrinking after installation.
Should I use glue or nails to install my hardwood flooring?
When installing hardwood flooring, the choice between glue or nails depends on the type of subfloor and manufacturer recommendations. Consult with a professional to determine the best option for your specific installation needs.
How do I handle warped or damaged hardwood planks during installation?
Warped or damaged hardwood planks can be difficult to install. It is recommended to inspect each plank before installation and remove any that are unsuitable. If a plank is slightly warped, it may be possible to install it with extra force or use a crowbar to straighten it.
Is it safe to install hardwood flooring in a basement or a room with high humidity levels?
Who wouldn’t want a beautiful hardwood floor in their basement? Unfortunately, high humidity levels can cause warping and damage to the planks. It’s not recommended to install hardwood flooring in these areas. Consider other options like vinyl or tile for moisture-prone rooms.
Conclusion
When it comes to hardwood floor installation, proper preparation is key. Before beginning any installation project, it’s important to ensure that the space is clean and free of debris. Additionally, gathering the right tools and materials can make all the difference in achieving a successful installation. From adhesive to saws, having everything you need on hand before starting your project will save time and prevent frustration.
Following proper installation techniques is also crucial for a successful hardwood floor installation. This includes properly measuring and cutting planks, ensuring they are level before securing them in place, and using appropriate adhesive or fasteners as needed. Taking these steps can help prevent mistakes such as uneven floors or gaps between planks.
For example, imagine a homeowner who wants to install hardwood flooring in their living room but has never tackled such a project before. They begin by clearing out furniture and thoroughly cleaning the space before gathering all necessary tools and materials. After carefully measuring and cutting each plank to fit its unique space, they take great care in ensuring each piece is level before securing it in place with appropriate adhesive.
The result is a beautifully installed hardwood floor that adds value to their home for years to come.
In conclusion, following proper preparation techniques, gathering the right tools and materials, and adhering to proper installation techniques are all critical components of successfully installing hardwood flooring. By taking these steps with care and attention to detail, homeowners can achieve beautiful results that add both style and value to their homes.
What Types Of Hardwood Floors Are Available?